While sewing masks during the pandemic and learning how to make “My First Quilt“, I discovered that I realllly like teeny tiny pieces of fabric. And so began our scrap collection! One of my favorite scrap sizes is the 1” finished square, aka Postage Stamp. These little 9 patches were technically the very first quilt blocks I ever sewed together.

I assumed I would eventually just sew all of the 9 patches together and make one big scrappy quilt, BUT once I started fitting more of the blocks together, I felt like something was lost. The visual chaos was just a little overwhelming.
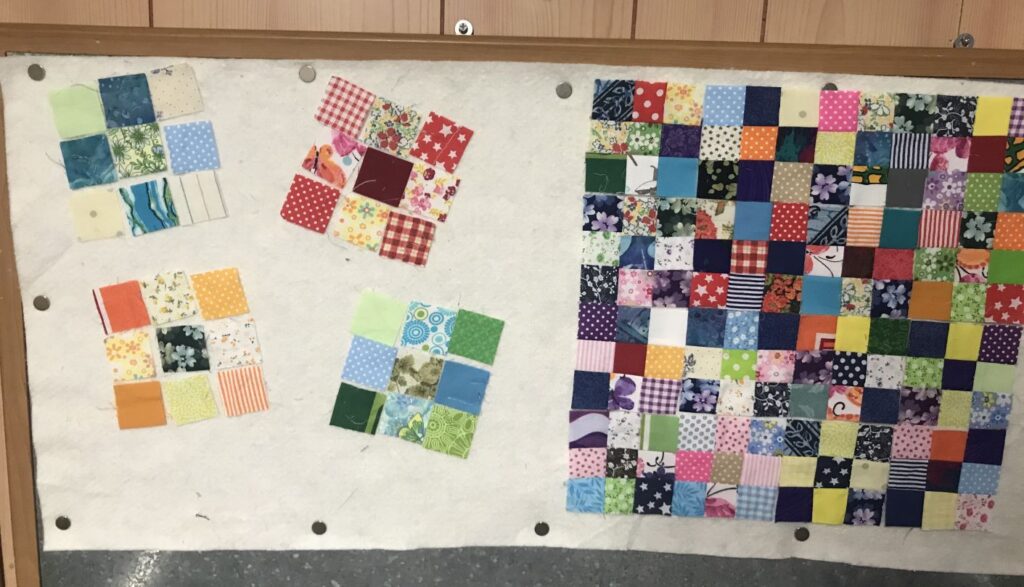
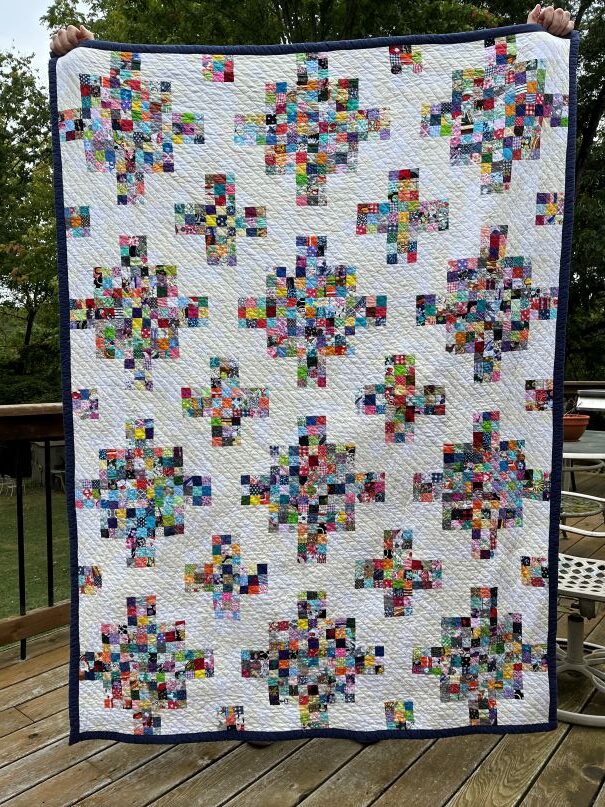
So I sketched out a pattern to incorporate some white space. A place for your eyes to rest!
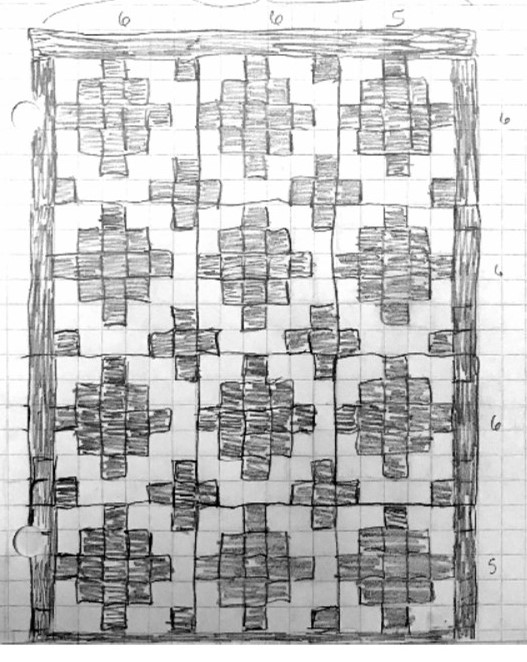
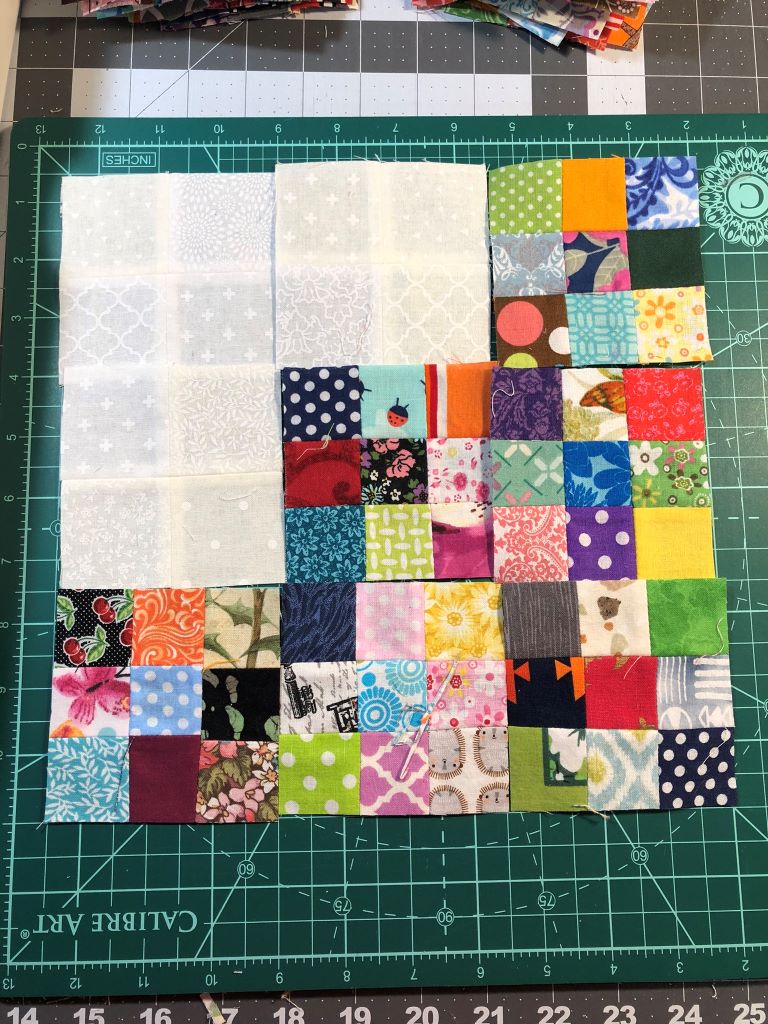
But I still wanted it to have a scrappy vibe so I used a random mix of white and ivory prints for the background. It didn’t make a ton of sense to do these in the 1″ pieces so I upsized them just a bit and compromised with 1.5″ finished squares… switching these background pieces from 9-patches to 4-patches definitely saved a lot of time (and a bit of fabric).
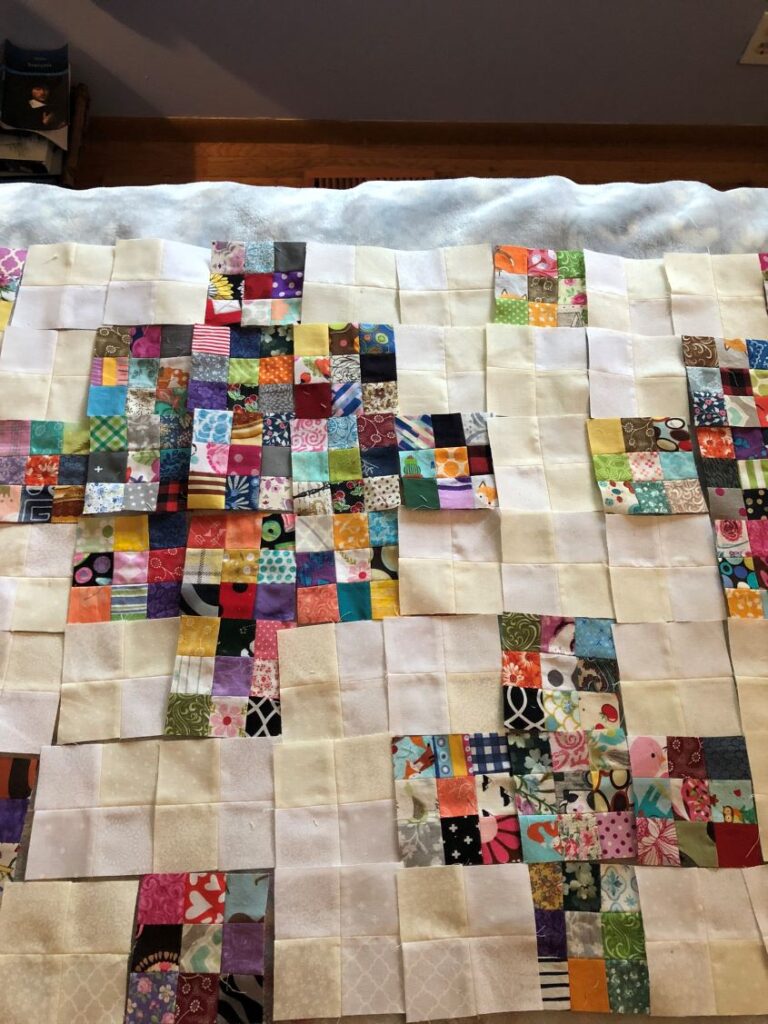
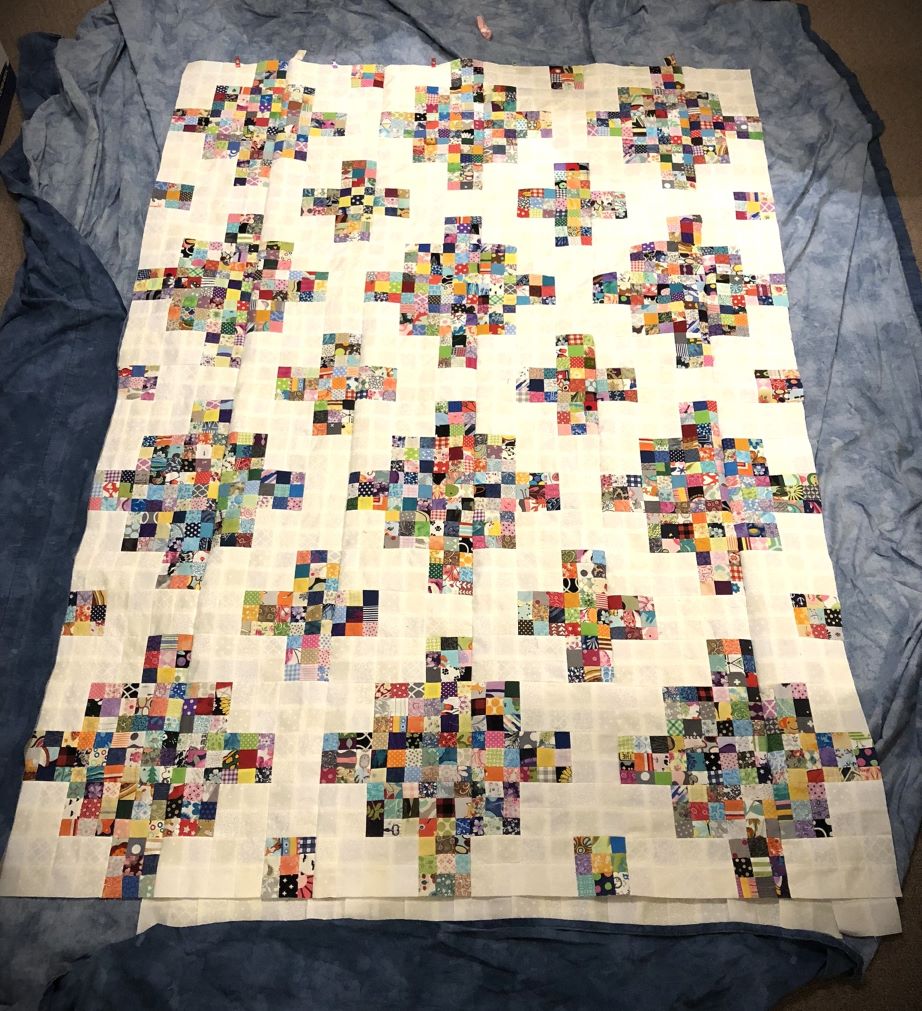
The top is together! Now what?
So this is only my second quilt. And the first one I made “quilt as you go”. Time to try something new! Well, in my pandemic-fueled info quest for all things quilt-y, I stumbled across this little tool with no idea what it was for or how it was used. Well, thank you to A Girl and a Glue Gun for her “Everything You Ever Wanted to Know About Chenille Blankets“! I love that the actual title of her post if you look at the url is “Faux Chenille Will Be the Death of Me”.
I get it now. But I didn’t then, so I did it anyway.
Here are the fabric layers that ultimately ended up in my quilt.
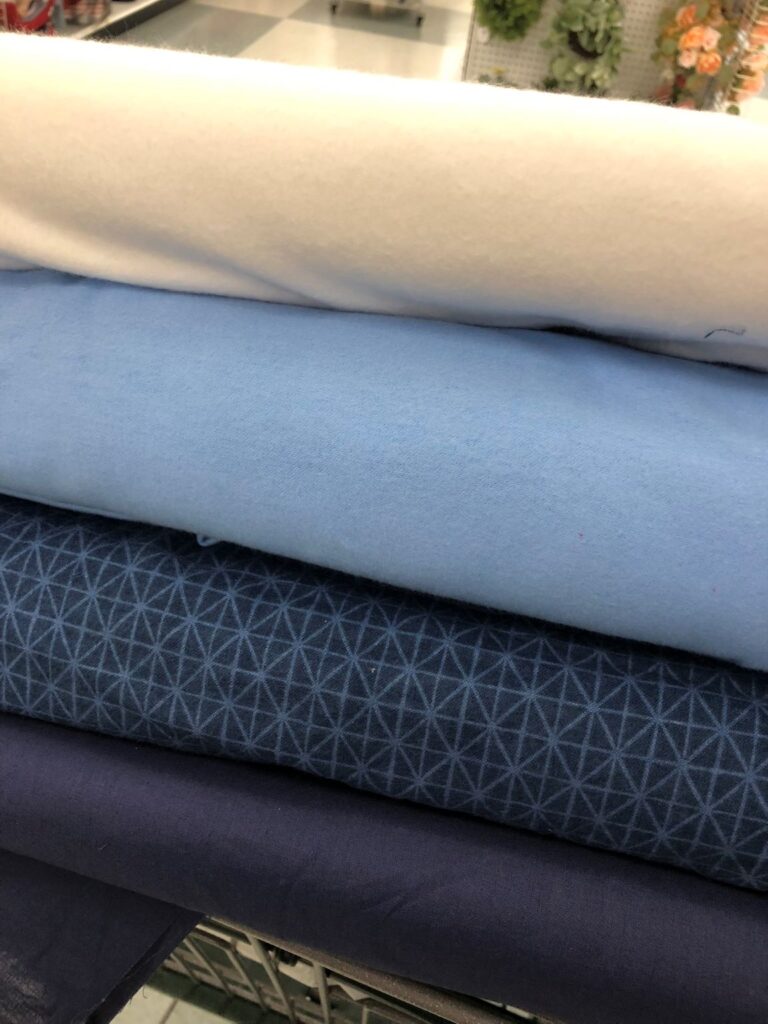
The top 3 fabrics are cotton flannels (these are the layers that are later cut). The one on the bottom is a regular quilting cotton (this is the base/backing layer). And because I am a crazy person, I also sandwiched a layer of batting in there.
Once all 6 layers were sandwiched together, it was time to roll it all up and cram it through the sewing machine a few hundred times, stitching a seam roughly 3/4″ from the previous.
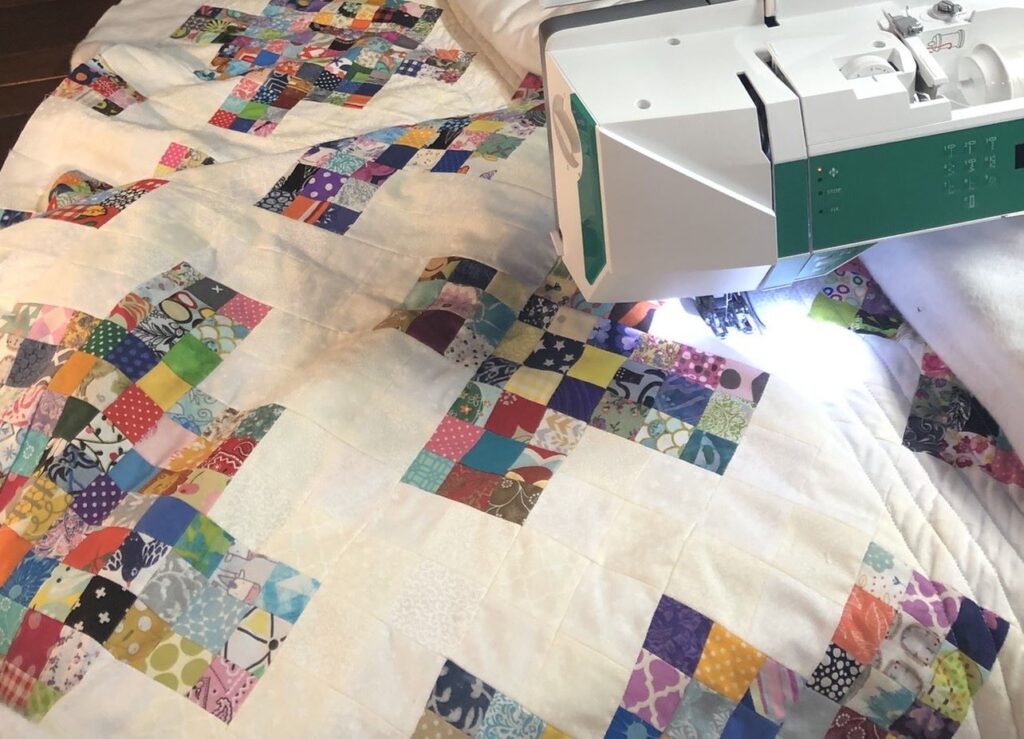
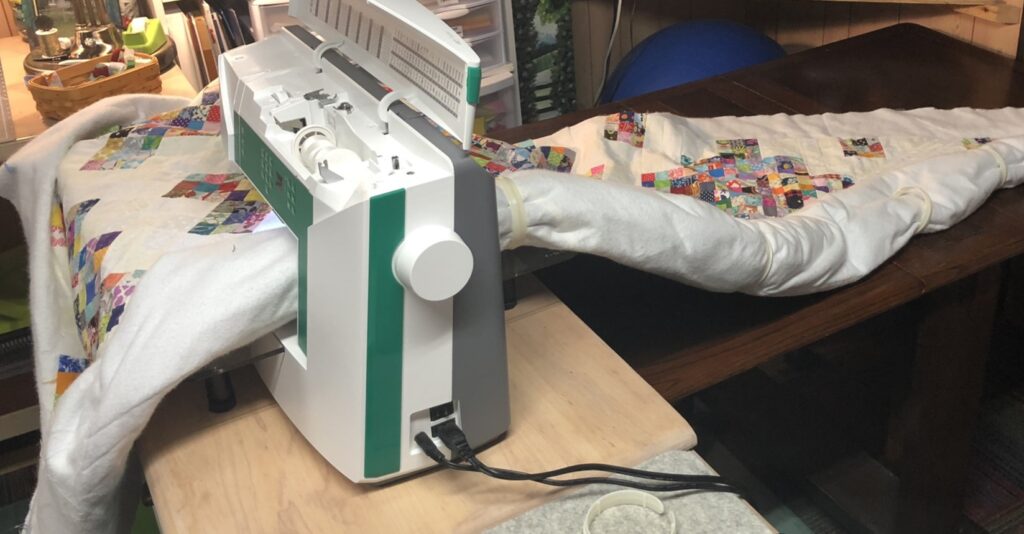
Now it was time to chenille! Using the Olfa cutter, I cut open all of those seams, being extremely careful to only cut those top 3 layers. Can you imagine trying to fix this if you accidentally cut through too many layers? I cannot.
And this is also where I will put in a plug for extra wide flannel. I had to piece mine and I thought it would be fine once everything was sewn, and cut, and washed and maybe eventually it will even out more, but that seam is super obvious.
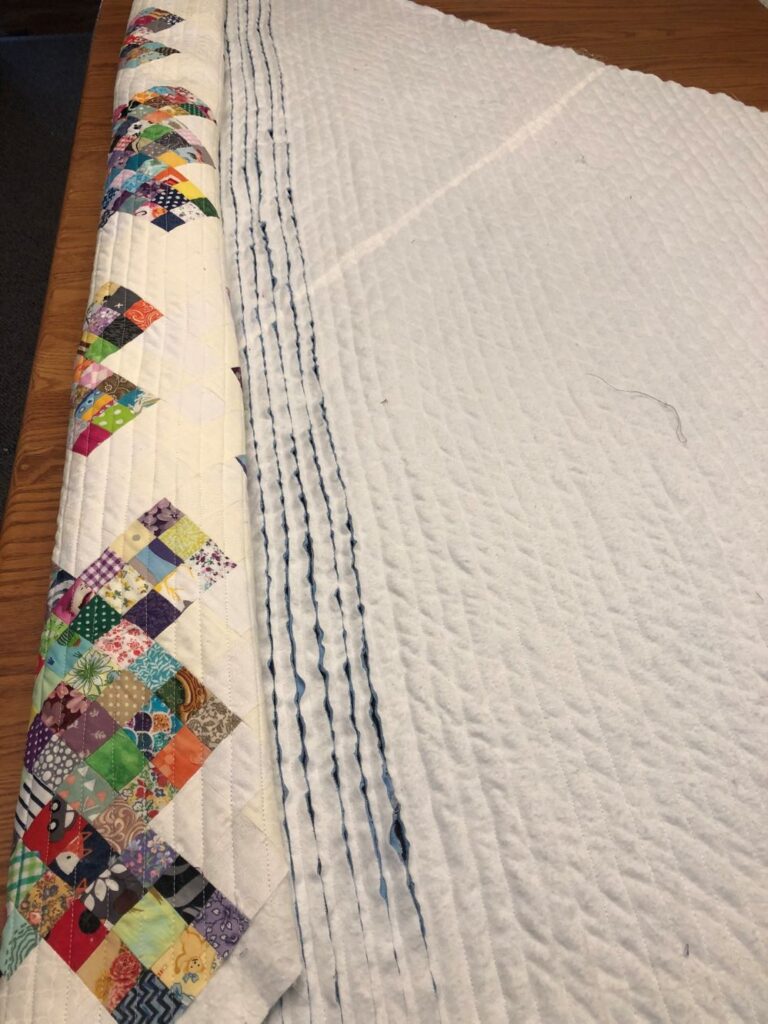
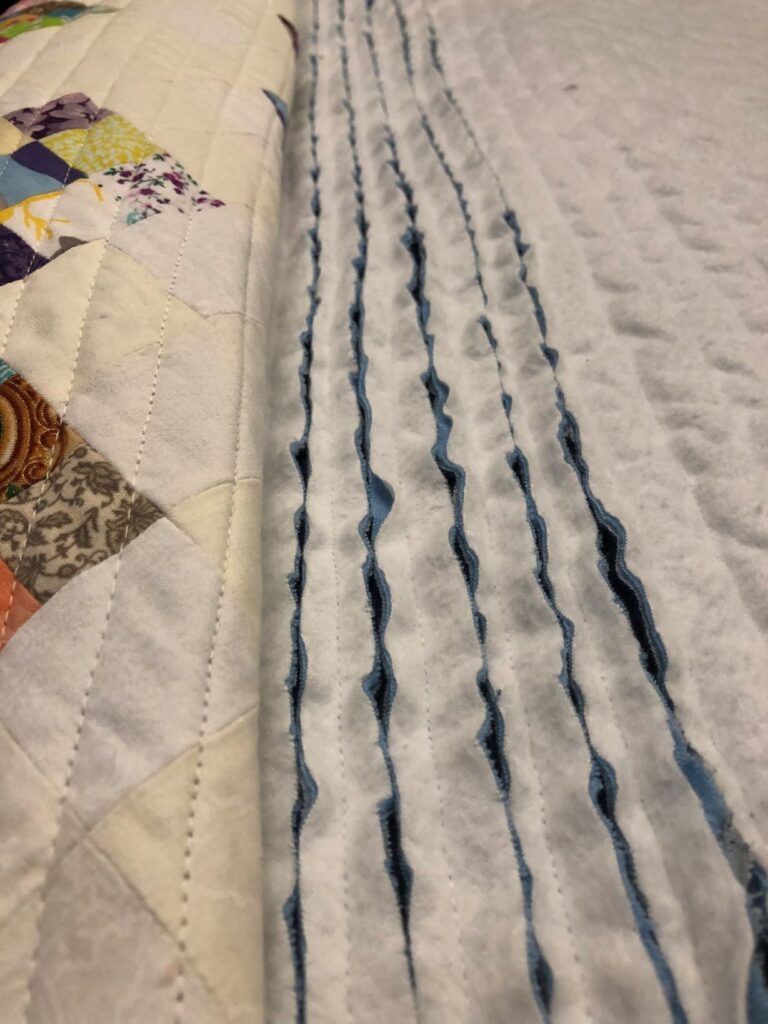
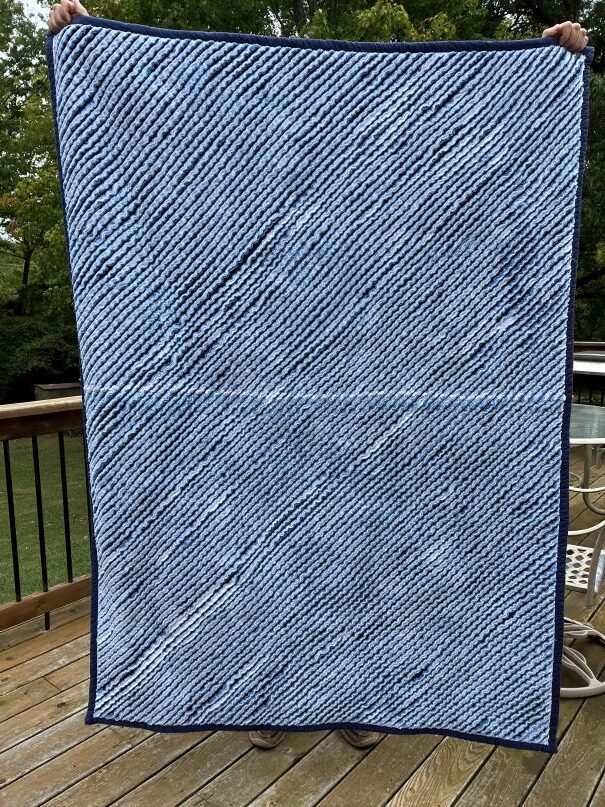
I bound it with an extra wide binding and it was ready to go! Washed and dried it’s nice and fluffy, but let me tell you this quilt is a heavy beast. If you’re looking for a weighted blanket, you are in the right place.
I love the scrappy top though and all of that crinkly, quilted goodness. I also love the man holding the quilt! #husbandsholdingquilts
It’s a thing.

Leave a Reply